
Judith's Tips for Taking Better Holiday Family Photos
Posted by Judith Kimbrell on 22nd Nov 2017
Creating a great portrait is complex. Some techniques employed are quite advanced, such as lighting and using the appropriate camera settings on a manual camera. However, there are a few simple things anyone can do to improve their family holiday photos. The following tips can be used by anyone to improve their family photo memories.
You should know that all the photos in this blog are, what I would consider to me, high end snapshots. Though I did use the appropriate camera settings to get decent overall exposures, I did not use any advanced lighting techniques. Natural light or a direct on-camera flash were employed.
Tip 1: Take the time to dress your family to the holiday theme. This requires some planning.
- Leave yourself plenty of time before the holiday to decide on clothing. If you don't have anything decent in your closets, head to the store to buy some cute outfits.
- Look for clothing that matches the color of the season, Easter outfits might include yellow, green, or pastel clothing. Christmas screams red or green (as seen below), Santa outfits, or
other holiday themes.
- Sometimes it's tough to get kids to change into their special holiday outfits in the morning when they are anxious to open presents on Christmas. In which case, you might consider dressing them in "holiday" pajamas the night before. That way, you can get their first expressions as they come into the room in the morning.
- And stay away from logos to trendy cartoon characters. You want your images to be classics. A year from now, your kids might hate the characters on their PJs (trust me, I know).
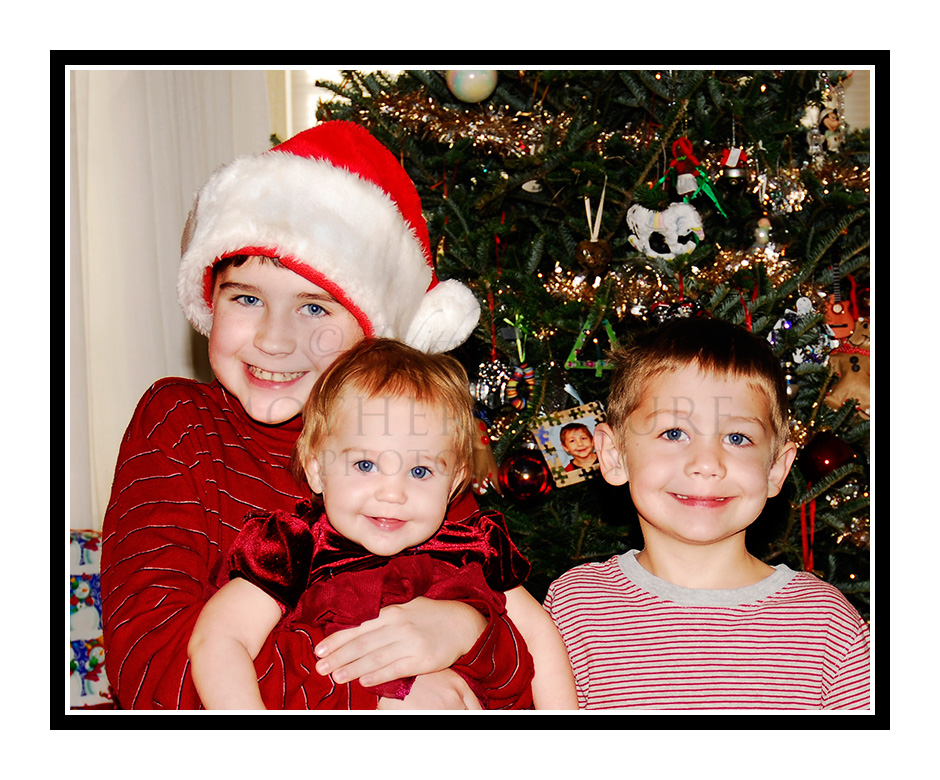
Tip 2: Accessories are always helpful.
Hats and props are fun ways to enhance the scene, especially with kids. The only downside is that you have to monitor the props when you should be watching for great expressions. Are the props laying correctly? Are they covering the kid's faces? The hats in the below photo are casting a slight shadow on the kid's faces. An on-camera flash or a bounce fill would have fixed this problem. When dealing with natural light, you have to work with what you have. If you do use props, try to set them in position, then spend your time watching the kids for the right expression.

Tip 3: Look for moments of
pure joy and real-time fun.
My favorite photos are the one that happen spontaneously, not the ones that are posed. In order to catch these, you need to have the camera in your hands at all times and be ready to take the shot. The minute you say, "Wait, let me get the camera!" the moment is already over.

Tip 4: Position yourself in the correct place.
I hold certain gifts back from my children until I am ready to photograph the scene. That way, I am in the perfect spot when they open the best package of the day. I am ready for their expressions of amazement and joy. Get yourself down to their level, try to position yourself in a way to get a simple background, talk to them to get their attention and move their body toward the camera, then hand them the present.

Tip 5: Don’t forget about detail shots.
These can be used as backgrounds for text or other pictures in photo albums. You can also use the images on a home movie.

Tip 6: The last tip is something I say the most. TAKE MORE THAN ONE PHOTO!
In fact, take at least five to ten images of each scene. Maybe twenty! Even the best photographers don't always get it right on the first shot. Facial expressions change in a millisecond. Smiles come and go and eyes open and close in an instant. The more people in the photo or the younger the person being photographed, the greater chance that someone will be caught mid-smile or blinking.